Tuesday, September 28, 2010

Kitchen: Phase 1 (Complete)

Our kitchen is finally put back together! Well, almost. We still have to put the panels back that go under the sink but first we need to find new hardware that attaches to hold ouR sponge, scrubber, etc. But besides that we have our kitchen back! All the cabinet doors are back on and the drawers are back in their place (thank goodness- that clutter was stressful!). Now we have our beautiful chocolate kitchen. Ready for the big reveal? Hold on- we have to remind you what the before looked like- so you can really get a feel for how different it looks now :)

BEFORE:


AND AFTER:
We absolutely love it! As it is now there is a huge contrast between our white tile counter tops and the milk chocolatey cabinets but once we get out granite counter tops installed we'll have a perfect balance between our new darker kitchen and our sandy painted walls.

We're going back to order our countertops around September 30th (when they have some extra special deals on granite) and will hopefully have our whole kitchen finished before Halloween! We're so excited! Even with just the paint change it's given our kitchen a whole new fresh look! The granite and door hardware will really just be the icing on the cake :)

Wednesday, September 22, 2010

A Work in Progress: Painting Our Kitchen

After looking at the paint swatches that we had taped to our cabinets for a week we decided on a milk chocolate brown to paint our cabinets. It would be a nice contrast against our light walls and it matches pretty perfectly with the countertops that we have picked out. So now we begin the process of DIY: paint your kitchen cabinets edition.First things first: we had to remove all of the cabinet doors and drawer fronts and with a kitchen as large as ours that alone was a time consuming endeavor. Thomas bust out his trusty drill and got to work. On top of that- each door and drawer had some sticky goo leftover from the rubber stoppers that were on the back of each of them so that needed to be removed as well before I started painting.
Next it was time for me to tape it all up and paint away. Unfortunately all of the "fail-proof" tape didn't work on our textured walls so I'll still have to go around with touch up paint to cover up what bled under the tape :o(
And now the real process gets started. I went around all the nooks and crannies with a regular paintbrush- just in the places I wouldn't be able to get with a roller. Any brush marks left behind would be easily covered with our polyester roller.

Here's the before. See? Lots of cabinets!
This is after I got all the nooks and crannies...And what they look like with two beautiful coats applied:
Now we just have to wait a few days to make sure that they are completely dry. In the meantime I went around with a craft sponge brush to get all the little extra nooks around the cabinets that are just too small to get a roller or a paint brush in there. Using a steady hand my DIY paint job looks just as good as if we were to pay someone $3,000 to do it for us. (That's an actual quote that we got- that's when we said "FORGET THAT! We're doing it ourselves!)
You'll have to wait for the next post to see what the kitchen looks like when it's all put together with the new paint. In the meantime, I've included a picture of what our kitchen looks like at this very moment- a mess! So stressful! I can't wait for it to be finished and everything to be put back in it's rightful spot!

Wednesday, September 15, 2010

Kitchen Makeover- The Beginning

Our home was used as a rental property for years before we purchased it. As a result, many of the fix-its around the house were done poorly and cheaply. As time goes on we find more and more things that aren't up to par but nothing serious has really come up- so far everything is fixable. For example: our ancient front door hardware- replaced, the rotten toilet parts- fixed, the broken sprinkler system- we're working on it.

This house needs a lot of tlc that it just hasn't been getting. With our newly acquired rebate we decided that the first thing that needs a facelift is our dated kitchen. We've got white tile countertops with stained grout that seems to embody all the colors of the rainbow embedded in the 15 year old grout. Yuck. The cabinets aren't in bad shape, but they need to be refinished and have some hardware added. Luckily the inside of the cabinets look brand new! We've already tackled replacing the old appliances and adding a microwave over the stove... but now it's time to get into the big time stuff!

But before we jump all the way into a kitchen renovation we decided to sand down the backside of one of the cabinet doors and stain it the color we were thinking of doing the kitchen. Thank goodness for sample size stains! It looked awful! The wood grain in the door sucked up so much of the stain that it was many shades darker than the rest- not the look we are going for at all. So instead of staining, we have decided to paint.

I picked out a bunch of paint swatches and taped them to one of the cabinets so that I could look at them for a few days in different lights before settling on a color. I also got a paint sample to paint the cabinet door to make sure that the paint went on smooth and evenly.
If all goes according to plan- this weekend will be dedicated to painting the cabinets. Keep an eye out for the next post to be the after pictures! Soon after that we should be looking into getting our new countertops! Re-doing the kitchen is going to be giving our whole house a facelift!!! We're really excited about it!

Monday, September 13, 2010

Homemade Artwork- On the Cheap

Let's start out by saying that I get bored when I look at the same four walls day in and day out. When I was in high school it felt like I was rearranging my room every week just so that I can look at something new and exciting. As an adult, not much has changed- I still like to change things up but I have been unable to do it as much because when you want to redecorate a whole house... well, that takes a lot of moolah. As a result, I've been looking at the same furniture, the same pictures, etc since I turned 18. I decided that with a new house, comes a new look- but I gotta find a way to do it on the cheap.

My solution? Lots of smaller, less expensive, and homemade artwork as opposed to the giant pictures and frames that we had been using before. I have recently discovered these great shadowbox picture frames which come in an array of sizes and look great clustered together. With the shadowboxes I also discovered patterned cardstock. I found a new love! It's so easy to just frame, add a little something to decorate or just leave the print as the framed art. Check out the things that I made for our hallway.

I made these monograms for our hallway leading into our bedroom. All it took was some pretty cardstock and some white letters that I found at a craft store!
These next two are just some of the fun cardstock that I found put into a shadowbox frame. And since cardstock comes w/ so many different patterns and designs it'll be easy for me to change it up when I get bored!

Thursday, September 9, 2010

The Big 1!

Thomas and I just celebrated our first year of marriage. It's crazy to think about all the time we put into planning the wedding and a whole year has already flown by!

We didn't think we were going to be doing anything other than going out to dinner on the big day- Thomas' schedule has been busy and he was warned that he might not get the time off. But at the last minute he got his schedule which gave him 4 days off in a row on our anniversary weekend! We scrambled as quickly as we could to put together an affordable weekend getaway in San Diego- quite the task when your anniversary falls on a holiday weekend.

We got a great deal staying 4 days and 3 nights at the Hilton in San Diego! We walked around the water, hung out at the beach, spent a day at the zoo, and of course we had to get a burrito from Hectors and tortillas from Old Town. We had such a great time- we miss Cali so much! I think the most important thing that we did on our anniversary though- which we intend to do every year- is we stood in the water on the beach in Coronado and recited our wedding vows to one another. It's kind of an unofficial renewing of our vows to each other. As the years pass, we'll get to know them by heart and maybe add to them.
(Here's one of the many views from our amazing room)
(Here we are at our official anniversary dinner in La Jolla)
(There were fireworks outside our hotel every night- two nights were for a festival on the water and the third was at Petco Field which was across the street from our hotel. We'd like to think the fireworks were just for us to celebrate our big day.)
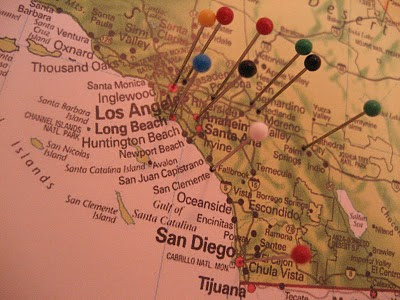
We also exchanged gifts- one year of marriage is supposed to have a paper anniversary gift. I know that Thomas loves maps and I had been trying to figure out a way to incorporate that somewhere in our home. I decided to get a 24x36 map of the United States, mount it on a bulletin board and then stick pins in all the locations that Thomas and I had been to as a couple. Not only can we see where we have been, but now we can look forward to adding more pins to our map in the future!

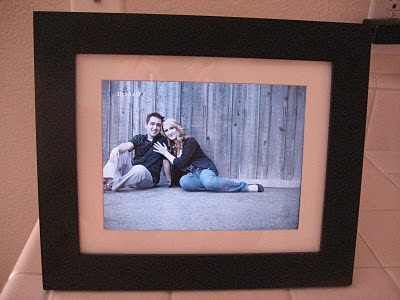
My gift from Thomas was so sweet! He got me one of those digital photo frames and created a slide show using our wedding pictures and photos throughout our relationship and incorporated our wedding vows into the show. It was so adorable- I almost cried!

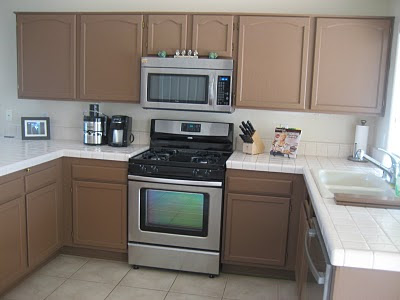
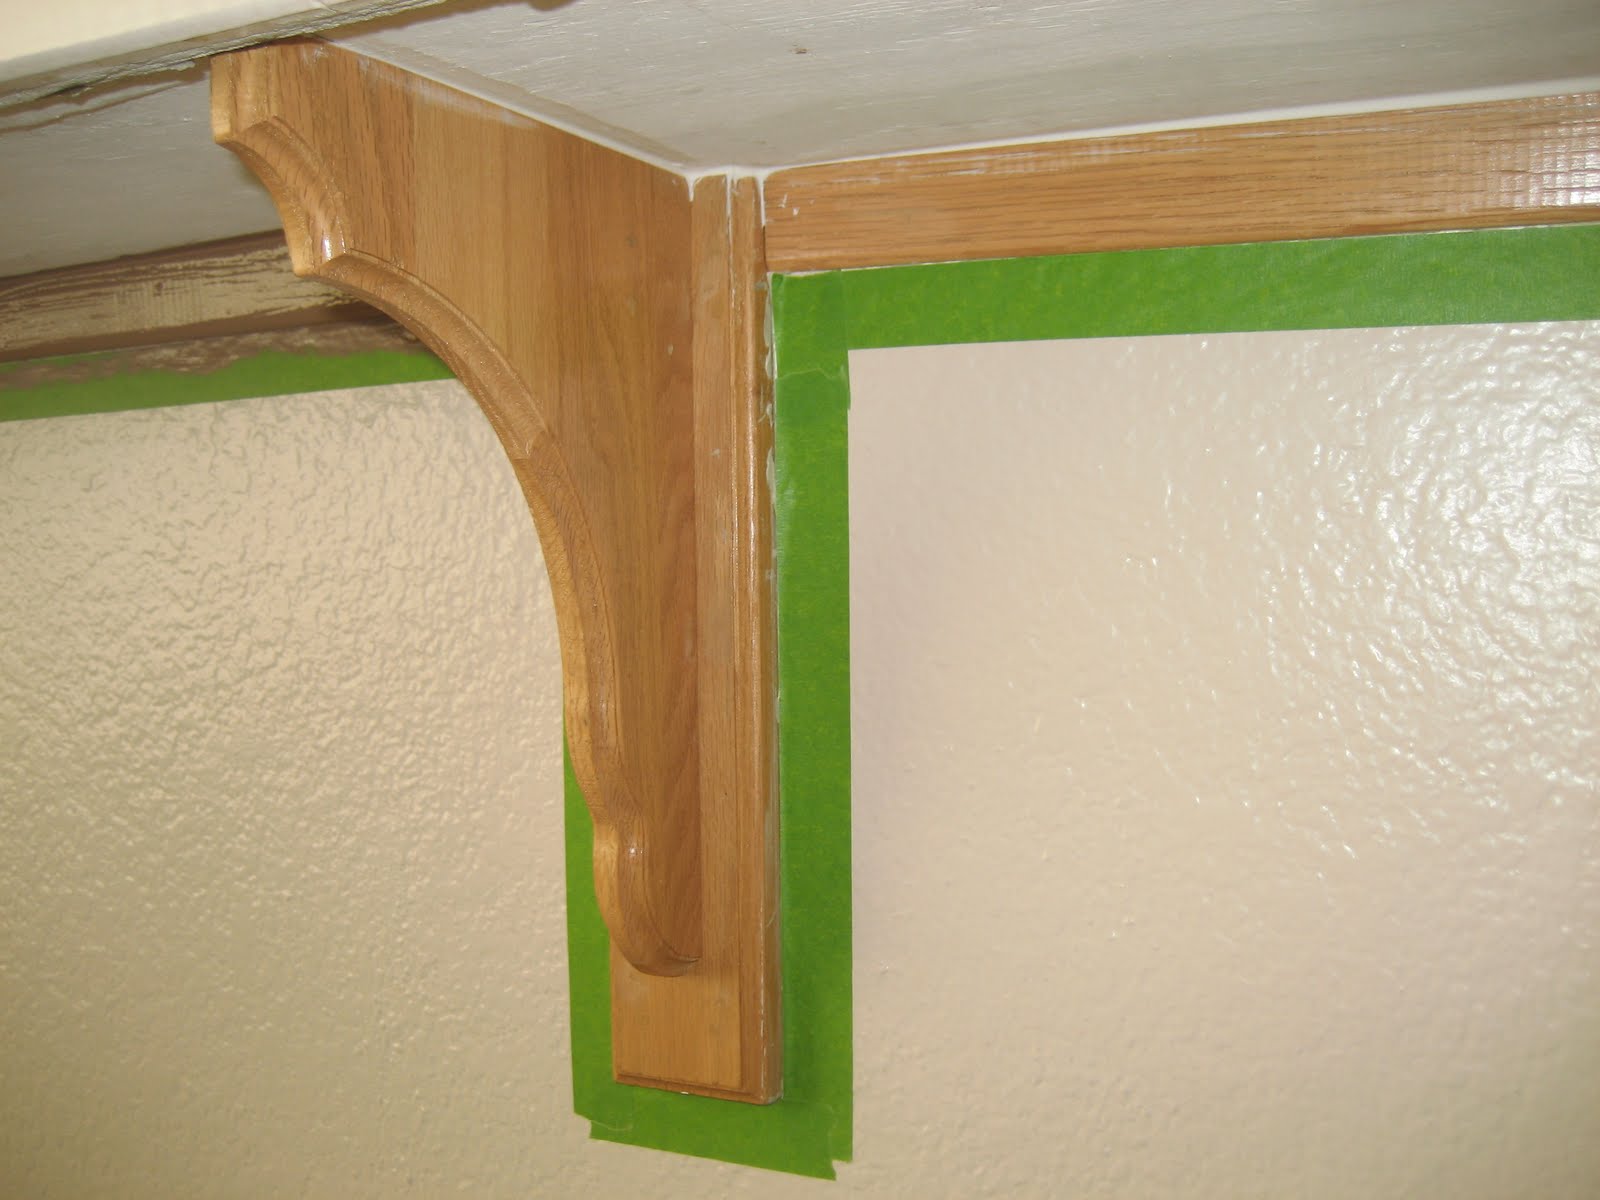
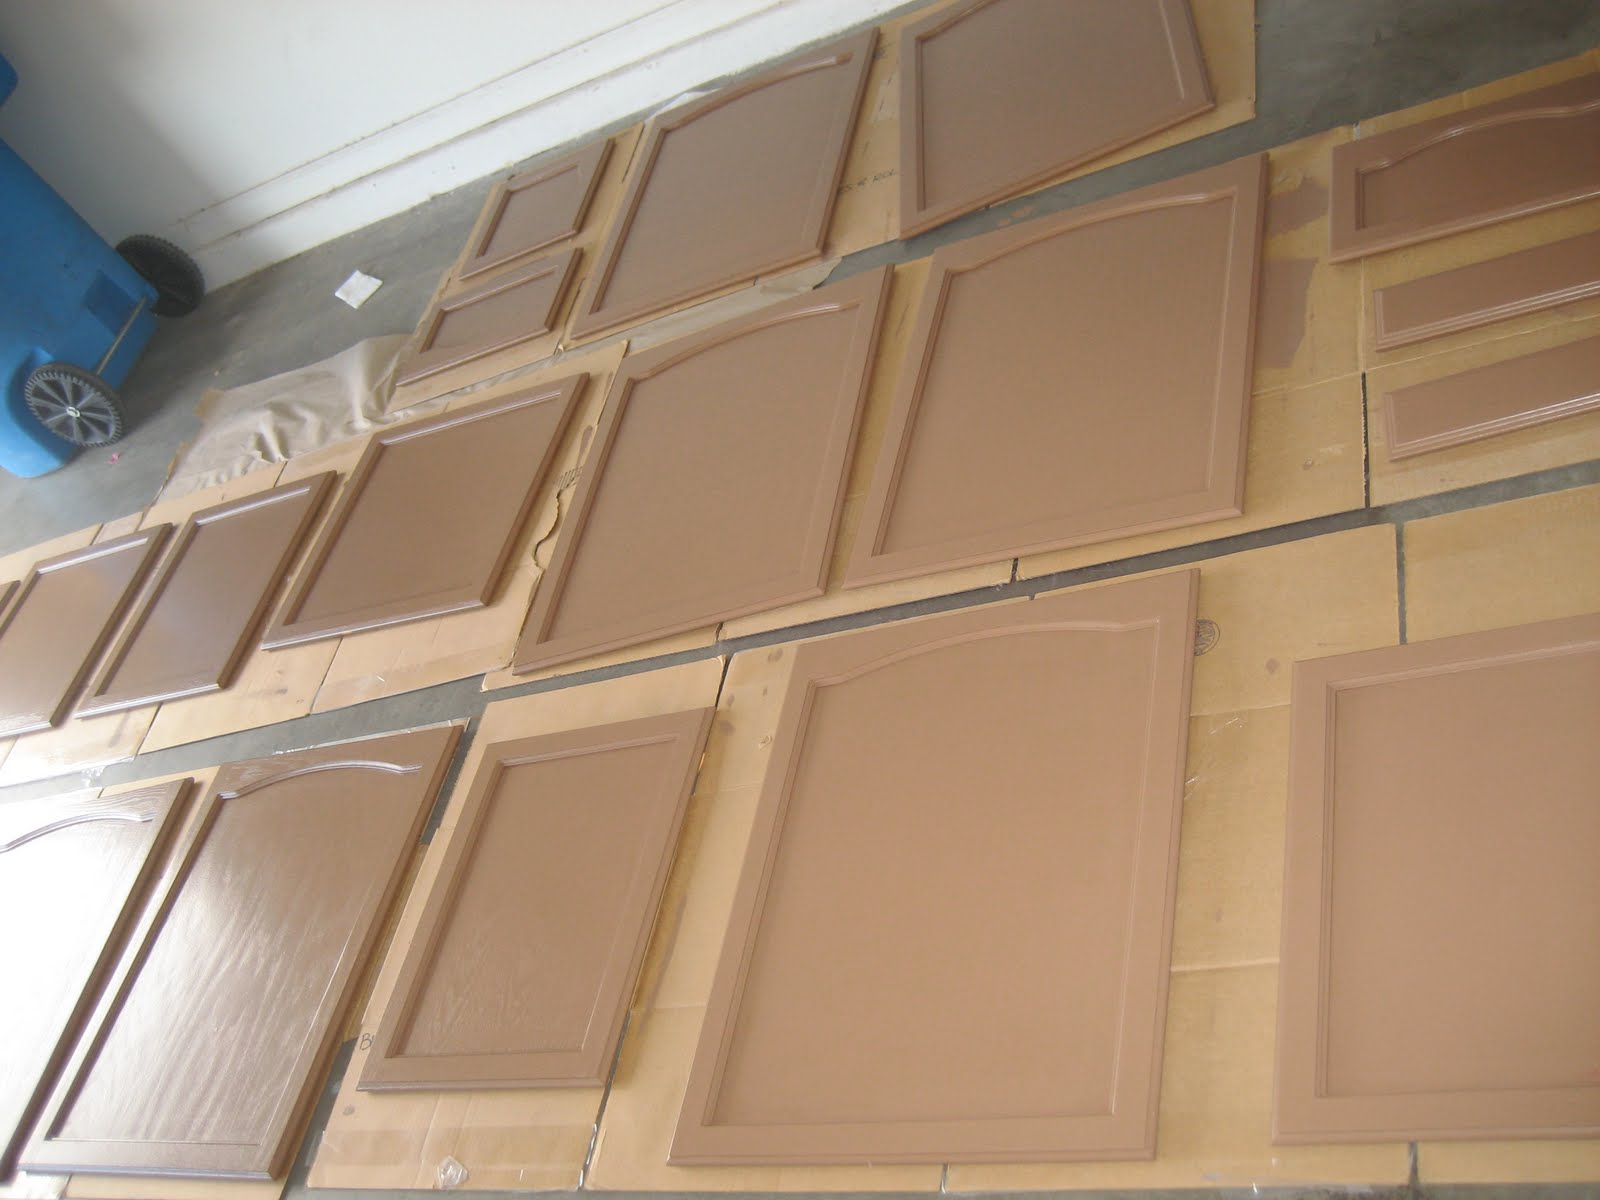
But we got a great surprise when we got home as well! Our rebate came in for being first time home-buyers so we can now look into getting rid of our yucky tile counter tops in the kitchen and ugly floor tile (hopefully the rebate will cover all of that).

So there you have it- a fantastic first anniversary getaway and soon a new home renovation!