Monday, October 25, 2010

♫ We've only just beguuuuun ♫

The weather is starting to turn here in Phoenix. We kept hearing that the fall and winter were wonderful but we had been experiencing a prolonged summer this year :( But I am happy to report that we have been experiencing cooler temperatures as of late (it was even chilly enough in the house the other day that I got to bust out my fuzzy slippers) and I couldn't be happier! With cooler temperatures brings more energy for me and more energy equals the ability for me to do MORE instead of sit on the sidelines and watch Thomas do most of the heavy duty work (which I'm sure he will appreciate as well).

Demolition has begun in our kitchen... well, what's left of our kitchen anyway. I had to fly off to Los Angeles to work on the Long Beach Marathon and Thomas took that opportunity to gut our kitchen counters. Boy am I glad that he did it while I was away. The mess, the noise, the dust would have been enough to make me chew my fingers down to nubs. On top of all of that Thomas preferred that my asthmatic lungs not be exposed to that much flying debris. Thank the Lordy for that!

It all started out just a little bit at a time so that we could experience how easy (or how difficult, rather) this job really was going to be.
And the job continued while I was away in California for work. Pardon all of the grainy photographs but I took my camera with me on my trip so Thomas took these pictures to send me updates on his progress while I was away. Here's what the process looked like:

We still have to rip out the sink but we obviously don't want to do that until the last minute. We don't want to be stuck without a sink!! For now we're living with our lovely plywood counters complete with old staples and splinters galore! It's still way better than the tile and horrible grout!

Side-note: We had decided to do the demo ourselves because our kitchen is so large that it would have cost more than $800 to have someone do it for us. So we though, "No problem- we'll do it ourselves!" I mean, who doesn't like saving $800? Well, Thomas says that if we ever do anything like this again that we will definitely be shelling out the dough to have someone do it for us. Apparently he did not enjoy it!

Our counter-tops were supposed to be installed this Wednesday and I was uber excited about the kitchen being near completion before Halloween but, alas, my civic duty calls and I have jury duty for the time that the install was scheduled for so we'll have to wait another couple of days and have them installed the following Monday. I'm still keeping my fingers crossed for the main living spaces to have the big projects done by the end of the year.

Friday, October 1, 2010

Frame the Date

A couple of weeks ago I made a little diy art project for our wedding anniversary- I framed the date :) I had used an old frame that I had that was a little beat up, some card stock and some stickers to make it all happen. When I finished I had something that looked like this:But- after looking at it for a couple of days and not quite knowing where I wanted to put it- I got to thinking that maybe black isn't the best color to showcase our wedding date. The white part of the frame is about 8 years old now and not quite as white as it used to be so I decided to paint it silver to match the accent on the cardstock. Next, since the black frame itself was beat up and had some chips in it that needed touching up I decided to go with a complete overhaul and just paint the thing a clean, crisp white. This is how it ended up looking:

I thought that with the new color scheme that it would look really nice in our hallway with our monograms and cardstock art. But the new dilemma? The frame is too small and the wall still looks kind of naked. My solution? Wallflowers!Now the wall has a little bit of pop and a lot more personality. Yay for a fun wall! I have some leftover wallflowers too so hopefully I'll be able to coordinate them with other projects coming up.

Tuesday, September 28, 2010

Kitchen: Phase 1 (Complete)

Our kitchen is finally put back together! Well, almost. We still have to put the panels back that go under the sink but first we need to find new hardware that attaches to hold ouR sponge, scrubber, etc. But besides that we have our kitchen back! All the cabinet doors are back on and the drawers are back in their place (thank goodness- that clutter was stressful!). Now we have our beautiful chocolate kitchen. Ready for the big reveal? Hold on- we have to remind you what the before looked like- so you can really get a feel for how different it looks now :)

BEFORE:


AND AFTER:
We absolutely love it! As it is now there is a huge contrast between our white tile counter tops and the milk chocolatey cabinets but once we get out granite counter tops installed we'll have a perfect balance between our new darker kitchen and our sandy painted walls.

We're going back to order our countertops around September 30th (when they have some extra special deals on granite) and will hopefully have our whole kitchen finished before Halloween! We're so excited! Even with just the paint change it's given our kitchen a whole new fresh look! The granite and door hardware will really just be the icing on the cake :)

Wednesday, September 22, 2010

A Work in Progress: Painting Our Kitchen

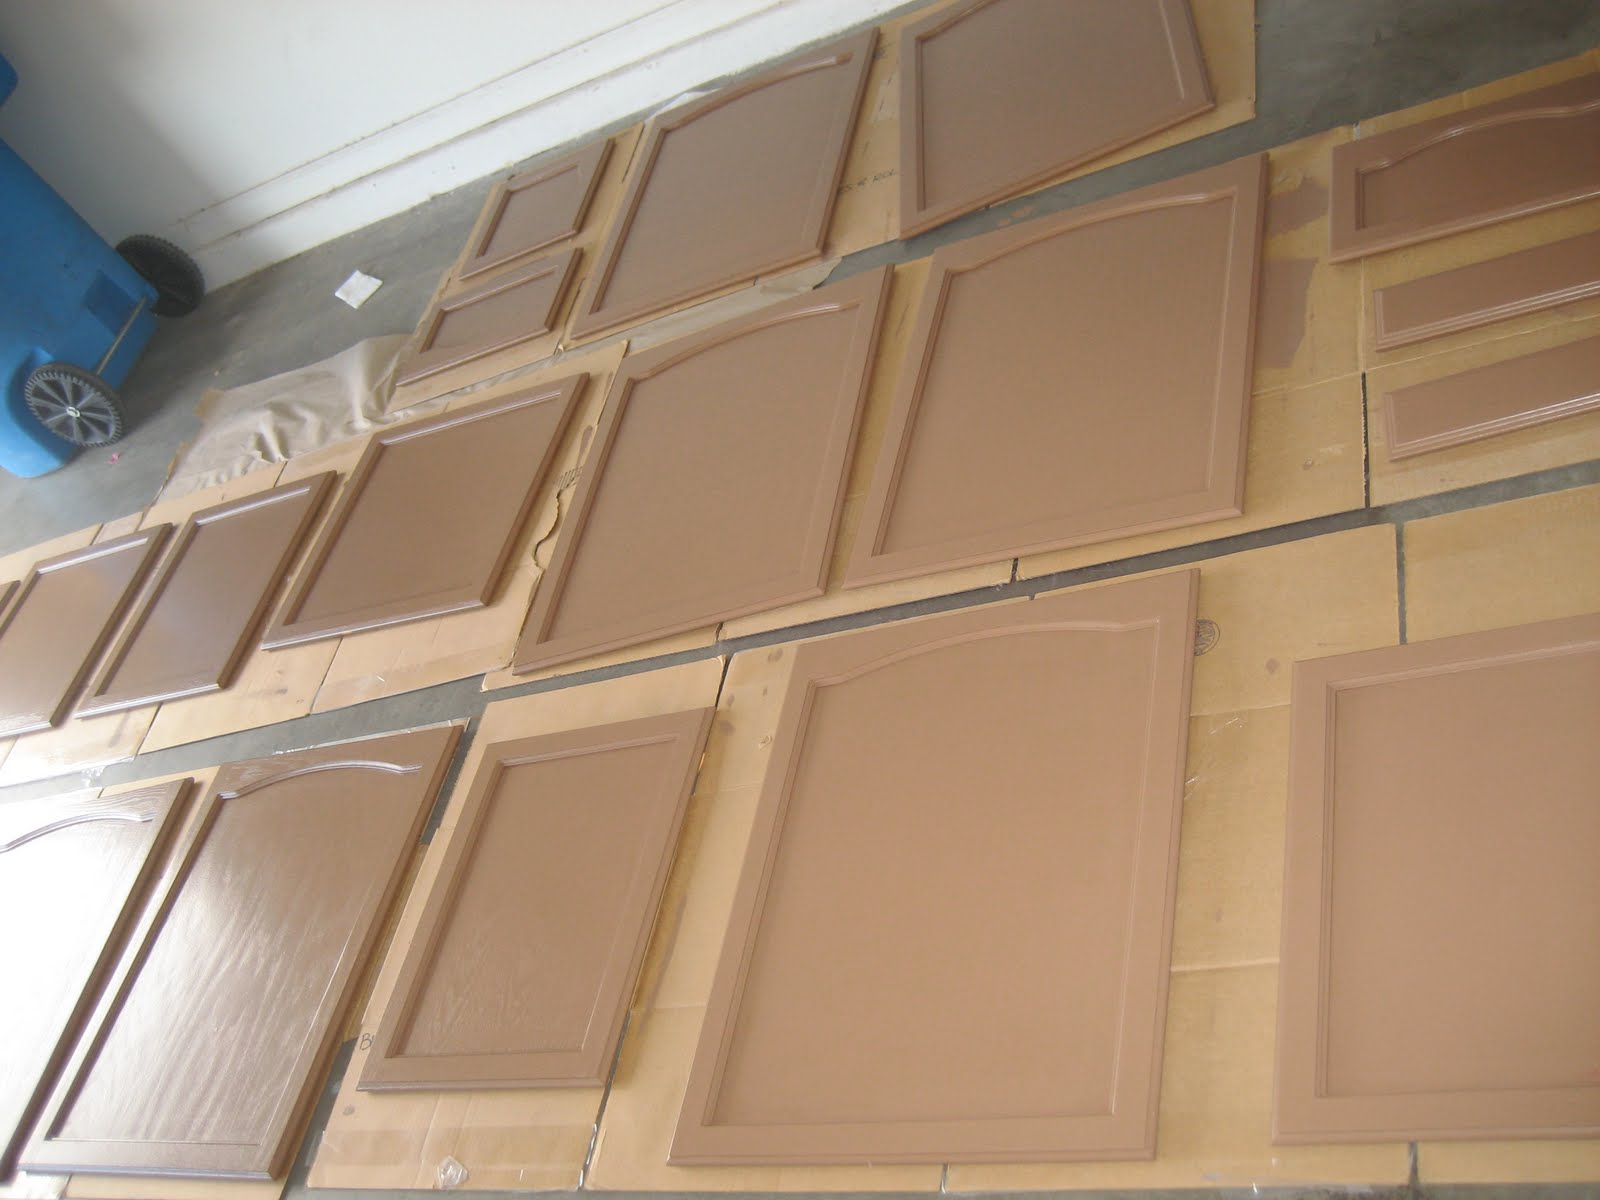
After looking at the paint swatches that we had taped to our cabinets for a week we decided on a milk chocolate brown to paint our cabinets. It would be a nice contrast against our light walls and it matches pretty perfectly with the countertops that we have picked out. So now we begin the process of DIY: paint your kitchen cabinets edition.First things first: we had to remove all of the cabinet doors and drawer fronts and with a kitchen as large as ours that alone was a time consuming endeavor. Thomas bust out his trusty drill and got to work. On top of that- each door and drawer had some sticky goo leftover from the rubber stoppers that were on the back of each of them so that needed to be removed as well before I started painting.
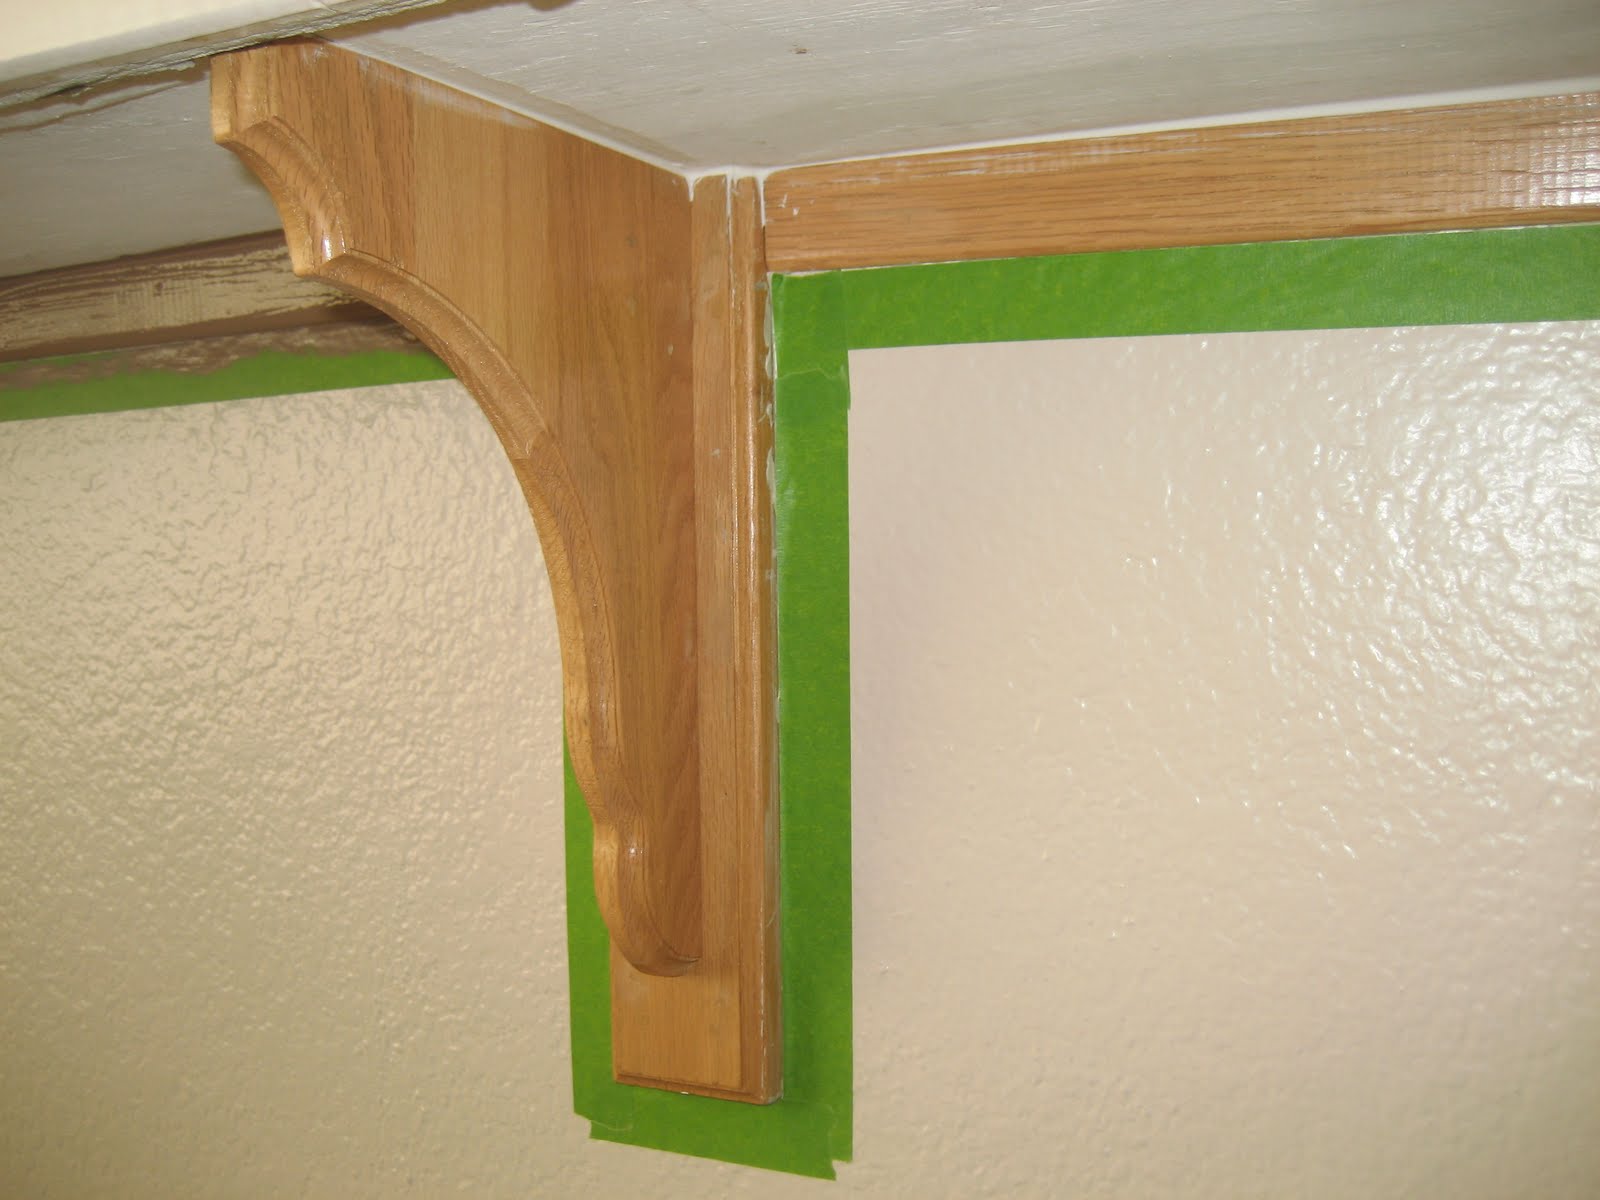
Next it was time for me to tape it all up and paint away. Unfortunately all of the "fail-proof" tape didn't work on our textured walls so I'll still have to go around with touch up paint to cover up what bled under the tape :o(
And now the real process gets started. I went around all the nooks and crannies with a regular paintbrush- just in the places I wouldn't be able to get with a roller. Any brush marks left behind would be easily covered with our polyester roller.

Here's the before. See? Lots of cabinets!
This is after I got all the nooks and crannies...And what they look like with two beautiful coats applied:
Now we just have to wait a few days to make sure that they are completely dry. In the meantime I went around with a craft sponge brush to get all the little extra nooks around the cabinets that are just too small to get a roller or a paint brush in there. Using a steady hand my DIY paint job looks just as good as if we were to pay someone $3,000 to do it for us. (That's an actual quote that we got- that's when we said "FORGET THAT! We're doing it ourselves!)
You'll have to wait for the next post to see what the kitchen looks like when it's all put together with the new paint. In the meantime, I've included a picture of what our kitchen looks like at this very moment- a mess! So stressful! I can't wait for it to be finished and everything to be put back in it's rightful spot!

Wednesday, September 15, 2010

Kitchen Makeover- The Beginning

Our home was used as a rental property for years before we purchased it. As a result, many of the fix-its around the house were done poorly and cheaply. As time goes on we find more and more things that aren't up to par but nothing serious has really come up- so far everything is fixable. For example: our ancient front door hardware- replaced, the rotten toilet parts- fixed, the broken sprinkler system- we're working on it.

This house needs a lot of tlc that it just hasn't been getting. With our newly acquired rebate we decided that the first thing that needs a facelift is our dated kitchen. We've got white tile countertops with stained grout that seems to embody all the colors of the rainbow embedded in the 15 year old grout. Yuck. The cabinets aren't in bad shape, but they need to be refinished and have some hardware added. Luckily the inside of the cabinets look brand new! We've already tackled replacing the old appliances and adding a microwave over the stove... but now it's time to get into the big time stuff!

But before we jump all the way into a kitchen renovation we decided to sand down the backside of one of the cabinet doors and stain it the color we were thinking of doing the kitchen. Thank goodness for sample size stains! It looked awful! The wood grain in the door sucked up so much of the stain that it was many shades darker than the rest- not the look we are going for at all. So instead of staining, we have decided to paint.

I picked out a bunch of paint swatches and taped them to one of the cabinets so that I could look at them for a few days in different lights before settling on a color. I also got a paint sample to paint the cabinet door to make sure that the paint went on smooth and evenly.
If all goes according to plan- this weekend will be dedicated to painting the cabinets. Keep an eye out for the next post to be the after pictures! Soon after that we should be looking into getting our new countertops! Re-doing the kitchen is going to be giving our whole house a facelift!!! We're really excited about it!

Monday, September 13, 2010

Homemade Artwork- On the Cheap

Let's start out by saying that I get bored when I look at the same four walls day in and day out. When I was in high school it felt like I was rearranging my room every week just so that I can look at something new and exciting. As an adult, not much has changed- I still like to change things up but I have been unable to do it as much because when you want to redecorate a whole house... well, that takes a lot of moolah. As a result, I've been looking at the same furniture, the same pictures, etc since I turned 18. I decided that with a new house, comes a new look- but I gotta find a way to do it on the cheap.

My solution? Lots of smaller, less expensive, and homemade artwork as opposed to the giant pictures and frames that we had been using before. I have recently discovered these great shadowbox picture frames which come in an array of sizes and look great clustered together. With the shadowboxes I also discovered patterned cardstock. I found a new love! It's so easy to just frame, add a little something to decorate or just leave the print as the framed art. Check out the things that I made for our hallway.

I made these monograms for our hallway leading into our bedroom. All it took was some pretty cardstock and some white letters that I found at a craft store!
These next two are just some of the fun cardstock that I found put into a shadowbox frame. And since cardstock comes w/ so many different patterns and designs it'll be easy for me to change it up when I get bored!

Thursday, September 9, 2010

The Big 1!

Thomas and I just celebrated our first year of marriage. It's crazy to think about all the time we put into planning the wedding and a whole year has already flown by!

We didn't think we were going to be doing anything other than going out to dinner on the big day- Thomas' schedule has been busy and he was warned that he might not get the time off. But at the last minute he got his schedule which gave him 4 days off in a row on our anniversary weekend! We scrambled as quickly as we could to put together an affordable weekend getaway in San Diego- quite the task when your anniversary falls on a holiday weekend.

We got a great deal staying 4 days and 3 nights at the Hilton in San Diego! We walked around the water, hung out at the beach, spent a day at the zoo, and of course we had to get a burrito from Hectors and tortillas from Old Town. We had such a great time- we miss Cali so much! I think the most important thing that we did on our anniversary though- which we intend to do every year- is we stood in the water on the beach in Coronado and recited our wedding vows to one another. It's kind of an unofficial renewing of our vows to each other. As the years pass, we'll get to know them by heart and maybe add to them.
(Here's one of the many views from our amazing room)
(Here we are at our official anniversary dinner in La Jolla)
(There were fireworks outside our hotel every night- two nights were for a festival on the water and the third was at Petco Field which was across the street from our hotel. We'd like to think the fireworks were just for us to celebrate our big day.)
We also exchanged gifts- one year of marriage is supposed to have a paper anniversary gift. I know that Thomas loves maps and I had been trying to figure out a way to incorporate that somewhere in our home. I decided to get a 24x36 map of the United States, mount it on a bulletin board and then stick pins in all the locations that Thomas and I had been to as a couple. Not only can we see where we have been, but now we can look forward to adding more pins to our map in the future!

My gift from Thomas was so sweet! He got me one of those digital photo frames and created a slide show using our wedding pictures and photos throughout our relationship and incorporated our wedding vows into the show. It was so adorable- I almost cried!

But we got a great surprise when we got home as well! Our rebate came in for being first time home-buyers so we can now look into getting rid of our yucky tile counter tops in the kitchen and ugly floor tile (hopefully the rebate will cover all of that).

So there you have it- a fantastic first anniversary getaway and soon a new home renovation!

Tuesday, August 24, 2010

Our First Monsoon

Thomas was just talking to me about how this has been a dry season for Phoenix. We've heard a lot about monsoon season and how crazy it is but we really hadn't experienced much of it. We had gotten a little bit of rain and some thunder/lightning... but it was kind of around us.... not close by.

Well, today we got a monsoon. It was incredible. I was working in the front yard on my little solar lighting project along the walkway. The weather was hot (hot enough that I had to take frequent breaks) and the sky was clear. We had talked about how picturesque the day was just a few hours earlier. All of a sudden (and I mean suddenly!) the sky was dark gray and rumbling! I thought nothing of it at first... but it got crazy quick! I started to see cracks of lightning right overhead! I had to go out back to call Thomas into the house because he was cleaning out the pool with the giant metal rod!

Within minutes, it was a full blown crazy monsoon! Pouring rain, incredible wind, roaring thunder and blinding lightning. I opened all the blinds in the house so that we could see at every angle.

I love this weather. I even went outside several times to shoot video (I knew I wouldn't be able to catch the lightning with a still camera).

Anyway, that's today's big adventure!

Funky Built-In Make-Over

From the moment I saw this wall of make-shift shelving, I knew that I wanted to rip that thing out!
The cubbies were an odd size, the bookshelves were limited and where the television is meant to go is all sorts of wrong. For one thing, built-ins like these don't really work with modern television sets... flat panel televisions make for lots of wasted space in built-ins like these. (I realize that we don't have a flat panel television- but we do want to get one in the near future). Also, this built-in would require that our television set be less than 35" and that just isn't something that we want to commit to. Lastly, if we were to use this space to house our tv set.... it would be on the ground. We would be looking down at it, and it would subsequently require that our couch be positioned in front of our big beautiful front window.

Unfortunately, our budget ran out quickly (thanks to lots of paint and new carpeting) so we had to settle with the fact that this wall was going to be here for a while. A quick coat of paint instantly made it look 100x better! But now I was faced with the obstacle of coming up with a functional use for this funky space.

I used another DIY blog to come up with some simple and affordable ideas. I found some storage ottomans in the "dorm room" section of Kohls so I scooped up two of them to serve as additional seating for if we ever have more people over than traditional chairs. I also found some collapsible storage cubes that I thought could be handy for extra blankets on chilly evenings. To round it out I used the book shelves to store our smaller (in size) book collection and also put the porcelain kitty treat jar and silk hat box to fill in extra spaces and add some color.

For the finishing touch- I hung a "B" in the main space. I love monograms and had been looking for a nifty way to incorporate one in our home. Luckily, this "B" was hanging out in the clearance section :)

Here's the finished product:
I really like the space now! It fills it up without looking cluttered and the cats kinda dig the extension of their cat tree (which is on the other side) as you can see from Misty sitting on her perch.

Carpet Install

We knew that getting new carpet was going to be essential when we moved into our house. The old carpets were stained and filthy.... and they were old. We couldn't move anything into the bedrooms until new carpet was put in so after the walls were painted we called to have an estimate done.

We wanted to make sure that we got good, durable carpet. One that can handle having cats (and later kids) and possibly stains. Having the best meant spending a little more but we're happy with the results. The carpet we settled on is highly stain resistant (we've already had a cat barf incident) and we are very happy with the look. We chose the color Sweet Cream (why is this stuff always named after food?) and it's super squishy to walk on. As you can tell from the picture I've posted below... Thomas likes it :) His sister even commented that it looked like a Febreeze advertisement!!! Ha ha!
We didn't replace the carpet in the living room because when the old tile gets replaced we figured we would just use tile (or laminate) in that room as well to give it a continuous look throughout the house. Plus, in Phoenix, carpeted living rooms are very rare. So we'll have to live with the old dirty carpet in there for a bit longer :(

Once the carpeting was in we could start moving things into the bedrooms!